Posted on 1 Comment

See Cassie Make 1st Published Pattern

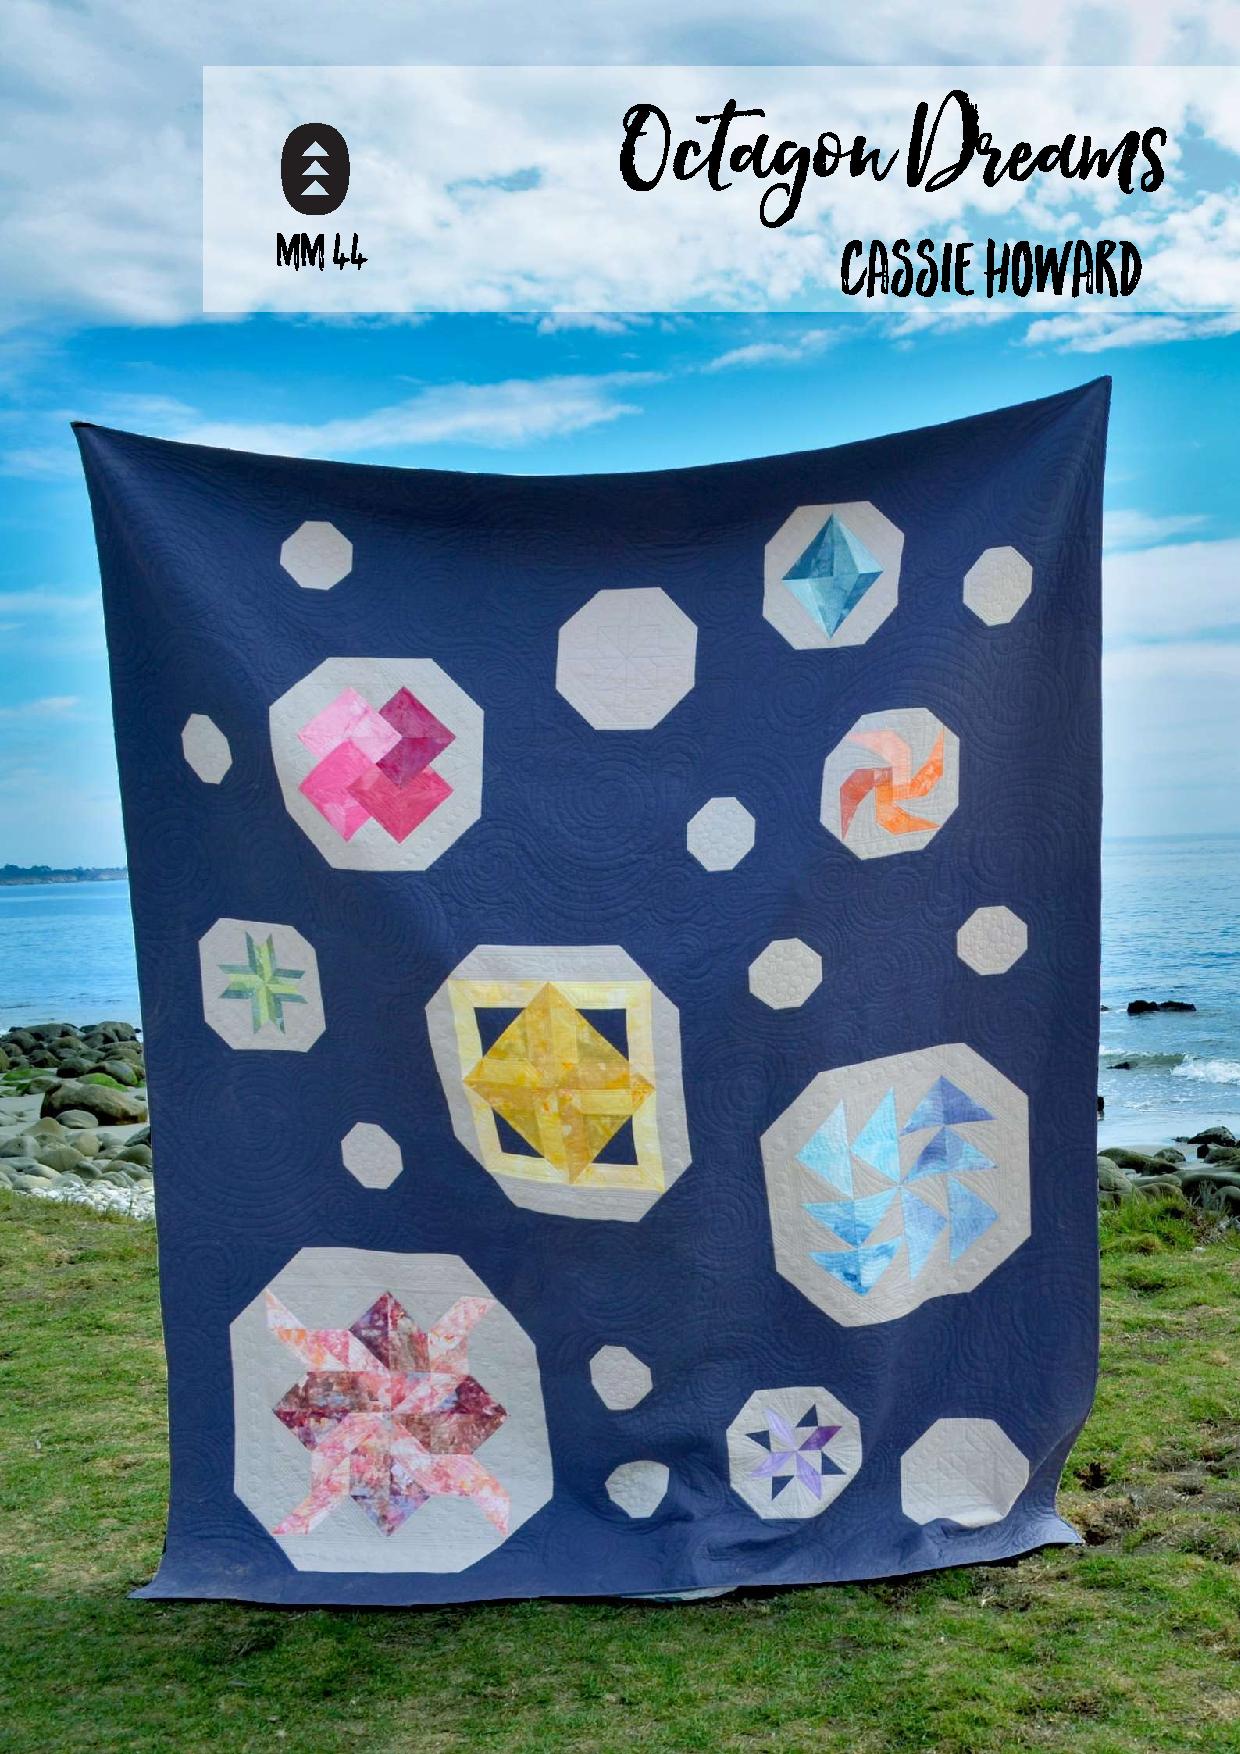
I am thrilled to announce I have a pattern in the upcoming issue of Make Modern, issue 44 that will be released at 3:30 pm MST (Phoenix, AZ time) on January 13, 2022 for those of you in the United States and 9 am ACDT on January 14, 2022 for those of you in Australia. It has been a goal since I created See Cassie Make to have patterns published in a quilting magazine. I went BIG for my first one and designed a queen sized sampler style quilt with fun multi-sized quilt blocks and a non-traditional setting. The pattern is named Octagon Dreams. The rainbow fabrics featured in this stunning quilt were all hand dyed by me. The blocks range in size from 6″ to 30″ square. The final quilt size is 90″ x 108″. It fits a queen size bed beautifully.

The Make Modern team was so great to work with and I hope we will be partnering up again for future projects. See below for some details about Make Modern and the other amazing projects you will find in this issue. If you want to get your hands on a copy I will post the link as soon as it is available. Until then new subscribers get instant access to the current issue which means that if you sign up over the next week (before the next issue is published) you’ll get a bonus issue. Just click the Make Modern circle!

The Make Modern team is spread across all corners of Australia, and their contributors come from all over the world. Subscribers live in over 70 different countries! Take a close look at their pages and you might notice a little change from this issue onwards as they embrace the globalization of their contributors.

In this issue we MEET three makers – Carole Lyles Shaw from USA, Donna Ward from New Zealand and Cait Lisle from England; we MAKE that stunning curvy cover quilt from Germany, a Bear Paw quilt from Jersey near France (I’ll admit I had to look this country up!), the cutest little bird pouch from Russia, as well as quilts from India, Ireland, and the USA!; and we MOTIVATE readers to dive into their fabric stashes to create a rainbow and learn about color theory with a brand new six-part series on Color Theory! Happy quilting, wherever you are in the world!

Included Patterns:

  • Bitter Lemon Quilt by Anke B. Calzada (@pasacana_designs)
  • Go Big Baby Bear Quilt by Sue Bone (@justsewsue)
  • King’s Belt Quilt by Daisi Toegel (@daisitoegel)
  • Bird Pouch by Marushka Volkova (@marushka.volkova)
  • Synergy Quilt by Preeti Harris (@sewpreetiquilts)
  • The Amethyst Hour Quilt by Sindhu Aragam (@creativeclutterroom)
  • Cleveland Ricky Quilt by Rita Geyermann
  • Windy Day Quilt by Sarah Schneider (@sarahs.softies)
  • Spring Weather Table Runner by Cait Lisle (@caitlisledesigns)
  • Octagon Dreams Quilt by Cassie Howard (@seecassiemake)

Featured Articles:

  • Tips + Techniques by Alyce Blyth (@blossomheartquilts): Flying Geese – Solo or Squad?
  • DIY Design by Tara Glastonbury (@stitchandyarn): Designed to Last
  • Cloth Confidential by Wendy Wild (@thenextstitch): Revival Arrivals
  • Quilt Like a Rock Star by HollyAnne Knight (@stringandstory): Quilting Plans for Samplers and other Traditional Quilts
  • Colour Theory: Colour Wheel by Alyce Blyth (@blossomheartquilts)
  • The Magic to Avoiding Neck Pain by Rose Parr (@healthyquilting)
  • Smash That Stash: Stringing it Along (@janekellyquilts)
  • Meet the Maker: Carole Lyles Shaw (@carole_lylesshaw)
  • Meet the Maker: Donna Ward (@donnawardnz)
  • Meet the Maker: Cait Lisle (@caitlisledesigns)

Octagon Dreams was designed and sewn by Cassie Howard. It was quilted by Cindy Stohn of @sewcoolquilts. Head shot photography of Cassie used above was done by Lauren Ashby of Lauren Ashby Photography

Posted on

A “Library” Easter Dress

Sadly, I never got around to making my Valentine’s Day pumpkins. I promise I will procrastinate Halloween again so I can carve some hearts in February! Since I’m touching on other major holidays in this post, how about I cover Easter too!

I had to settle for making a dress for the girl child since I procrastinated on those pumpkins so long they ended up in the trash….a shame really. I didn’t get fun or food out of them this year. I totally didn’t slack on the Easter dress though. I dug through my stash of patterns a whole week before Easter! Woooo! Go me! I was deciding between the Oliver + S Garden Party dress or the Library dress. I even put it to a vote on FB but came up with a draw. So, I asked the 2 year old in the house. She grabbed the pattern and said “This one mommy.” There was no way to refuse that. So, the Library Dress it is!

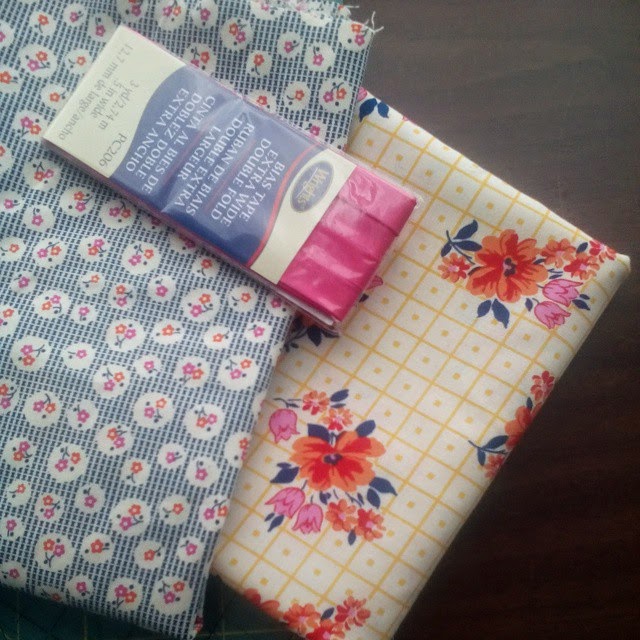
The next day the little miss and I hit up the store and got our material. I have tons of fabric in my stash but not enough of a main fabric for the pattern and who doesn’t love buying new fabric. I didn’t think to write down the good info on the fabric though.

 The pattern has a view with a collar and without, and short or long sleeves. I went with no collar and I decided to omit sleeves completely since it was a week before Easter and it was already in the 90’s here. I didn’t want to add extra bulk by lining the entire bodice so I opted for double fold bias tape to finish the sleeves.

I went to town transferring the pattern and cutting everything out. I prefer to make clothing a bit longer for kids who are growing so quickly so I made the size 2T pattern but went with 3T in length. Except for a few small errors in the directions when it came to piecing the waistband to the bodice, it was easy peasy. Pleats are not my favorite thing in the world to sew, but there were not that many and I do love the look.

 Then, I got to the part where I had to pin the sides of the skirt together and finish the sleeves….something was off. I don’t know if it was a mistake I made or something to do with leaving the sleeves off, but the skirt was not lining up by a half inch. I even hit up the forums on the Oliver + S site to see if anyone else had that particular issue. I didn’t really get much response (not that I expected it though). In the mean time, the dress just sat like this while I tried to figure out what to do.

In the end I just decided to cut off the offending half inch from the arm hole and call it a day. Everything lined up beautifully after that and my little miss kept begging to put the dress on.


I love the buttons down the back too. On the forums, some of the others out there kept talking about putting a zipper in. I don’t think I would like the dress as much. As they say….it’s the details that make the dress. I still have not figured out who “they” are but since they are backing me up on this, I’m going with it!


And a shot of all the kids and while I did do Easter baskets before the egg hunt, I totally forgot to bring them to their grandparent’s house.


Here are some close up shots of the details and the fabric as well.

Dress Front

No Collar and I used the contrasting fabric for the facing.

 The piping to edge the waistband matches the arm hole bias tape.

Dress Back

Buttons.

I loved making this dress and can’t wait to make it again. Going with a different view to get a different look. I have some great corduroy sitting in my stash that would make a great winter dress with the long sleeves….

Posted on

Little Boys and Bow Ties

Time to revive the blog! I have been away for a few months. Major life changes going on here. We moved cross country and now live in Arizona. We have been here since the end of July. All I can say is that it is HOT in August in Arizona, but this winter has been beautiful! It is the end of January and I have my windows and doors open and it is hitting around 73 -75.

After much inner turmoil I put the boys in public school. I’m a firm believer in the Montessori method of learning and very much against common core and testing and every single thing about public schools really, but we just couldn’t swing the funding here in AZ for Montessori. I gave homeschooling a go from the fall through Christmas time. It worked in the sense that I could use Montessori on them at home, and that they were learning TONS, but I was drowning. And my super social boys were having trouble not interacting with more people on a daily basis. I have them in soccer, and swimming, and we go to the gym 3 times a week, but it was not enough. I will keep our home classroom up and running to supplement school…and I will bite my tongue and clench my teeth while dealing with their terrible common core crap homework because this ended up being the best choice for our family.

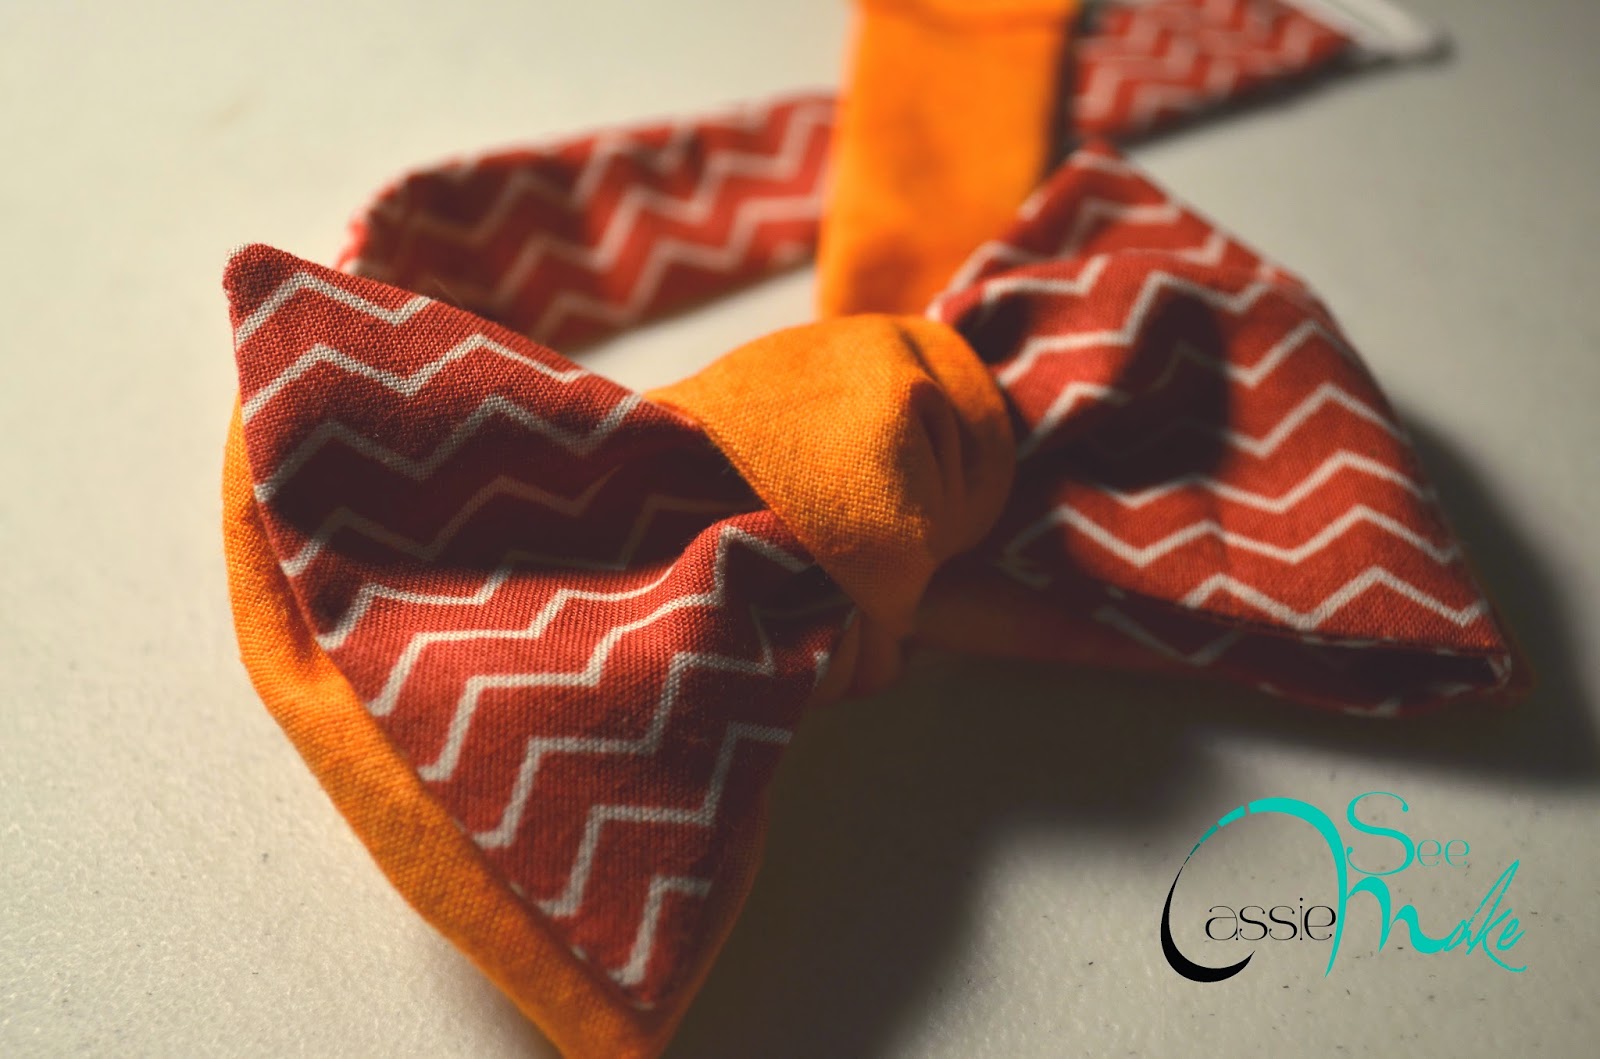
Now, after that crazy long intro and background info, my middle child came home from school yesterday and said that he had to dress like he was 100 years old for the 100th day of school. Really?!?! I need more notice! Anyway, I pulled out a short sleeved button down top for him and I remembered this blog post with a free bow tie pattern. I got the okay from the middle child for a bow tie with a request that it be red. So, I dug through my piles and piles of scraps and I whipped up an awesome bow tie! Now that I see how easy that was, I will be making a bunch more! I made the ones with the clip in the back so that once it is tied, it is tied.

Some gel and baby powder in his hair turned it that lovely grey/white color and I popped the lenses out of an old pair of sunglasses.

If I do say so myself, my 100 year old kindergartener turned out pretty cute with his “red” bow tie.

Posted on

A dandelion skirt set

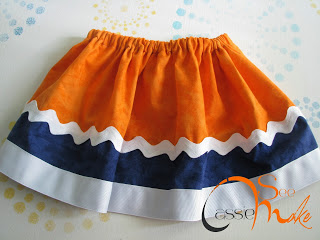
We are getting together with Mr Cassie’s family. The first time that all of us and his siblings and their families will be together in almost 5 years. We had a family picture taken that last time and we are planning on it again. We are all from the Chicago area and the Chicago sports teams seem to be important to everyone (everyone except me, I hate all sports) so the Bears colors/theme was chosen for our picture.

Posted on

Star Wars Art Smock

Way back in the middle of September I made a bunch of bias tape. I made it so I could make Hugh an art smock for school. It should have been done way back in August but I was having trouble figuring out exactly how I wanted to make this. I wanted it to ‘grow’ with him and easy for a 6 year old to get on and off. I also have a very opinionated boy who very much had a say on the fabric choices.
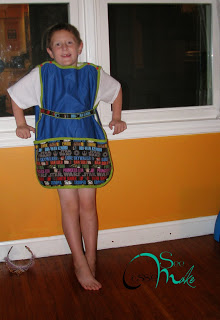
This is what we ended up with…..front
 

Back…

 I have tons of PUL fabric for making cloth diapers/covers. So, I used that for the body of the smock. It is completely water proof. Nothing is getting through it. To get the shape, I just laid out a t-shirt of Hugh’s and traced out the neckline and arm holes (making a point to add a couple of inches for growth). Then we went through my stash and Hugh picked the Star Wars fabric. That was a good choice because I had a blue to match it in the PUL. I would have done a black or a blue bias tape but Hugh wanted Yoda green. The Star Wars fabric has been divided into 3 pockets.

As for the belt, well it was the best way I could come up with that would be easy for him to put the smock on and off himself. It has snaps to adjust the size. The belt is attached to the back part of the smock and then wraps around the front, holding everything together.

 The back is completely plain