Posted on

A stress busting skirt!

I have been slack in the blog department. I have been keeping very busy though! I had a joint birthday party for the boys, I made a dress for Miss Faye, and we had an awesome camping trip. I will get posts up for all of those things soon!

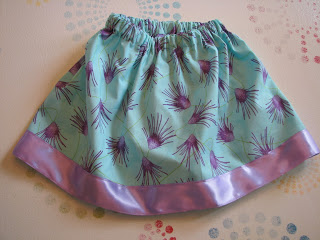
For now, I made yet another Lazy Days Skirt for Miss Faye. The quick and easy aspect of the skirt makes me feel like I have accomplished something. Even if it only took me around 35 minutes to make. I have so many other projects that are huge time and energy eaters that ‘accomplishing’ something makes me feel like I’m out of the project rut.

Some of the projects that I’m working on…..

  • A set of cocktail sized napkins for a Montessori classroom (I’m actually almost finished with these).
  • A guest blog post for a good friend (not hard but I need the mental energy to rework a current post to make it ‘right’)
  • A 4th of July dress or outfit for Miss Faye
  • Planning and putting up a chicken wire fence to keep the bunnies out of my garden
  • Planning Miss Faye’s 1st birthday party
  • Making a party dress for Miss Faye
  • I got an awesome dresser that I garbage picked…I need to refinish/paint it
  • A full set of curtains for a friend’s bedroom

 Here is the skirt.

I used left over fabric from a birthday gift to Hugh’s Birthday Buddy. Shown in this post. I really liked it with the darker purple ribbon but I didn’t have enough so I made a quick trip to the store for this. I also added some top stitching around the waist and a matching purple tag. I also switched to using my surger.

I made this skirt a bit on the long side so that it will last longer for Miss Faye. Now, I need to come up with a top to match it…or at least sort of go with the skirt. Right now I have nothing.

Posted on

More Bloomers

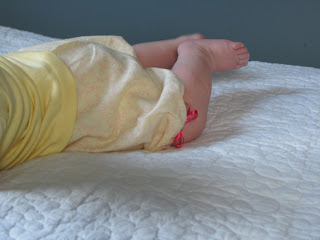
Yesterday, after I made Miss Faye the new skirt I also made her a pair of bloomers to go with this pinafore. They are the same bloomers that I made to go with this, only this time I did add the elastic to the bottom of the legs. I also added a cute little ribbon bow.

She is wearing a shirt that my mom saved from when I was a baby. 

I still need to get pictures of her in the bloomers and the pinafore but the top was in the laundry already.

I think next time I will make the bloomers a bit shorter. These are knee length and just a bit too long. I may add some butt ruffles next time as well!

I really love these because they are simple and they are roomy enough to
fit her cloth diaper. They are also easy on and off to change said
diaper.

Here is a quick pic of the fabric I picked up to make her another outfit. I just can’t decide what to make, another pinafore/bloomer set or a dress or something completely different. I have been scouring the internet looking for cute patterns. I did find one that I liked but it was much too expensive so I still have my feelers out.

Posted on

Another One!

I had to do it. I made another Lazy Days skirt. Miss Faye loves it. I used extra fabric I had from these wash cloths. I am officially out of elastic now and I have been having trouble finding it in bulk. I specifically like 5/8″ braided and for some reason that one is not that easy to find. It also looks like my little Miss is going to have red hair!

Posted on

Pinafore Part Deux

I got busy and made another pinafore. I really love this pattern!

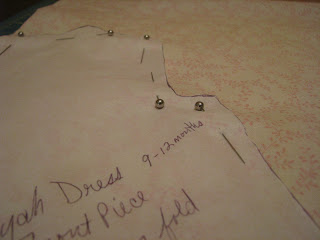
I had to pin the pattern today because my chalk wheel ran out of chalk. Of course I had just been to the fabric store the day before. Oh well, it only added a few minutes. If you don’t remember from the cutest pinafore ever post, I am in love with this pattern. It is from Sew Sweet Patterns and is called the Mayah Reversible Pinafore and Bloomers.

There are only a few pieces to cut out and sew together, so I decided to try my hand at some applique using the fabric from the reverse side.

Let me tell you. I am terrible at using the freehand satin stitch on my sewing machine. It turned out okay but my perfectionist type personality keeps telling me to rip it out. I think I will leave it in and then get some more practice….I need a baseline to see if I’m getting any better.

Anyway, the top is done and looks amazing!

And these next two pictures keep turning when I upload them and I can’t turn them again. You get the idea though!

 Now for the best part….the fashion show!

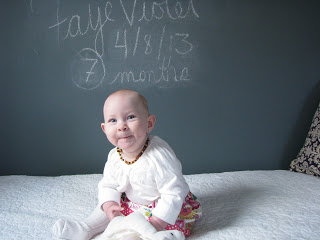
It is still a bit big on her. I did make the next size up, hoping it would fit the entire summer. You can really tell in this pic. I really do love the fabric as well. The pale creamy butter color looks good with her complexion.

Here is the other side.

Posted on

Rag Bags

I have always tended toward the crunchy side of life. I breastfeed for more than a year (I almost made it to 2 years with each of my boys), I use cloth diapers, the main cleaning chemicals in our house are baking soda and vinegar, and we use rags instead of paper towels.

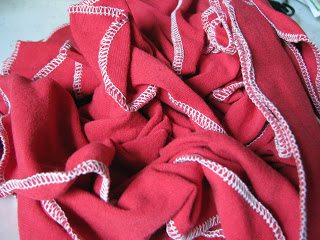
I make all our rags out of old t-shirts. Instead of tossing it when it gets a hole in it, we put it in a box in my sewing area. After I have collected a few, then I will spend an afternoon cutting them up (I cut the seams out and any pictures get cut out) and I finish the edges with my serger.

If you take the step to go paperless in your home it is great, but once you do, you realize that you have to find a solution to the storage of the rags. I found a pattern for a rag bag in the book Handmade Home by Amanda Blake Soule that I just loved. It turns out it is very easy to make as well.

I ended up making a few more as gifts! One for my mom.

 One for my cousin J.

 And one for my other cousin J

I hung it from a hook in the dining room low enough so that my youngest (at the time he was 2) could get in the bag to have access to the rags. We use the rags for everything you would use a paper towel for; cleaning up spills, as a napkin, washing windows, etc…. I wash them with our towels, in cold water with vinegar in the rinse cycle. No fabric softener is used on them at all.

I am glad that we made the switch and even more glad that I found an attractive solution to rag storage!