Posted on

Little Boys and Bow Ties

Time to revive the blog! I have been away for a few months. Major life changes going on here. We moved cross country and now live in Arizona. We have been here since the end of July. All I can say is that it is HOT in August in Arizona, but this winter has been beautiful! It is the end of January and I have my windows and doors open and it is hitting around 73 -75.

After much inner turmoil I put the boys in public school. I’m a firm believer in the Montessori method of learning and very much against common core and testing and every single thing about public schools really, but we just couldn’t swing the funding here in AZ for Montessori. I gave homeschooling a go from the fall through Christmas time. It worked in the sense that I could use Montessori on them at home, and that they were learning TONS, but I was drowning. And my super social boys were having trouble not interacting with more people on a daily basis. I have them in soccer, and swimming, and we go to the gym 3 times a week, but it was not enough. I will keep our home classroom up and running to supplement school…and I will bite my tongue and clench my teeth while dealing with their terrible common core crap homework because this ended up being the best choice for our family.

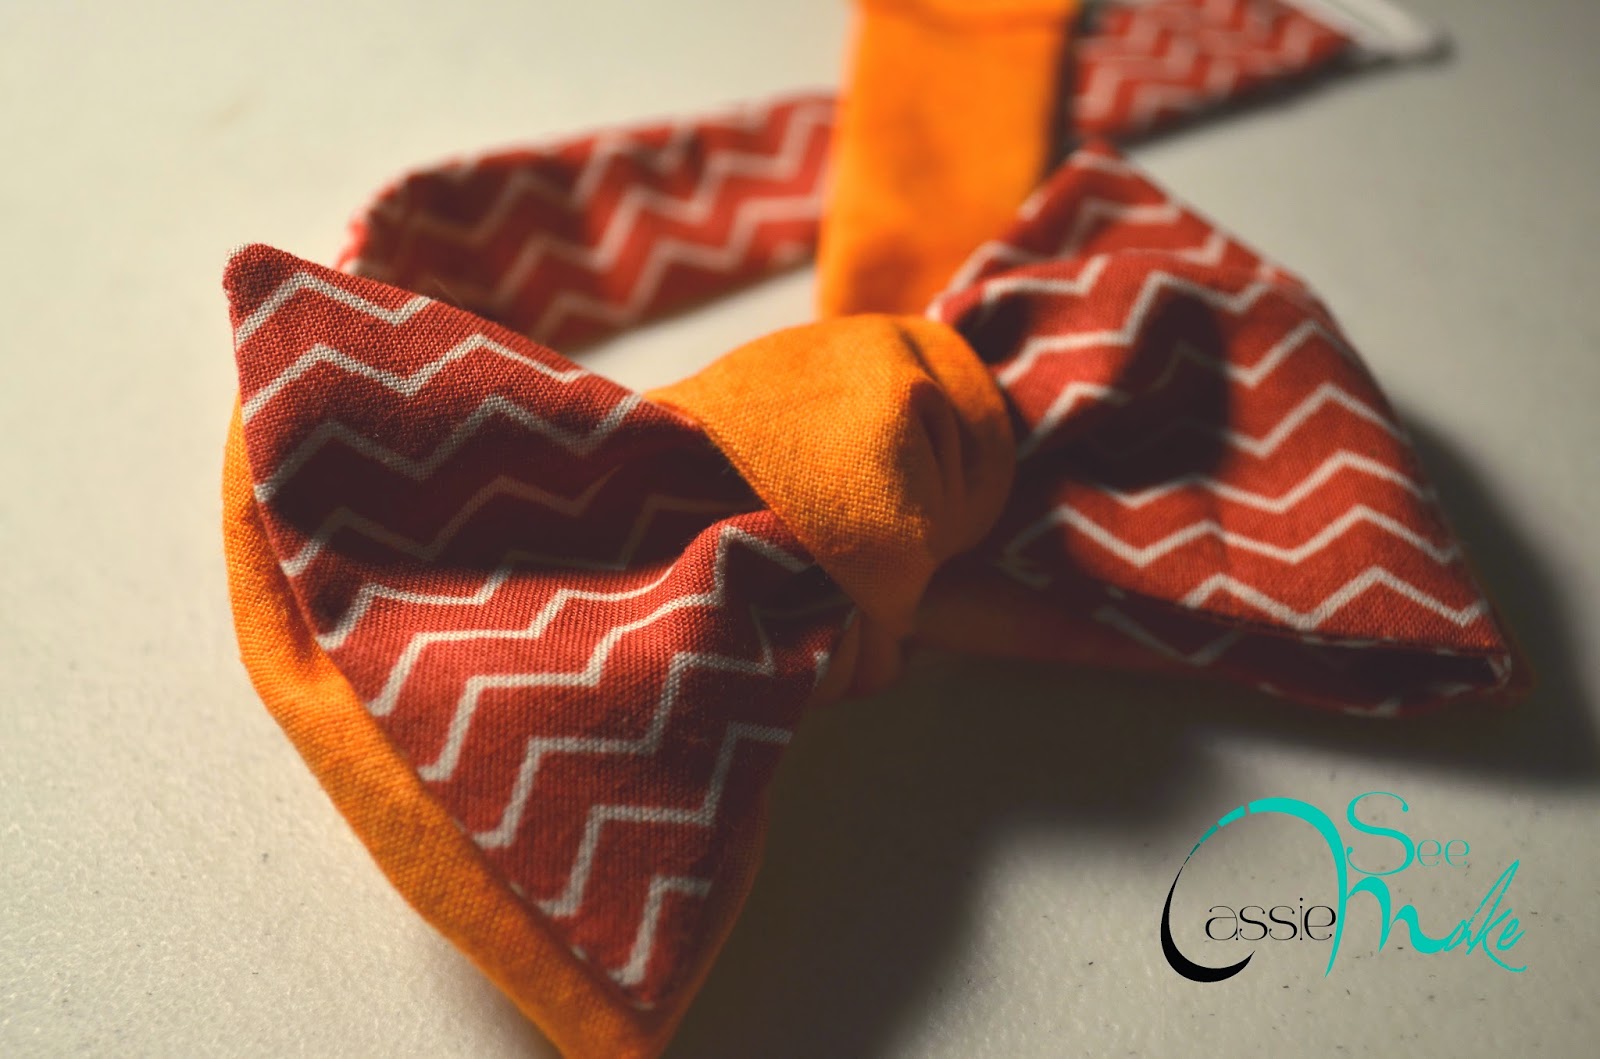
Now, after that crazy long intro and background info, my middle child came home from school yesterday and said that he had to dress like he was 100 years old for the 100th day of school. Really?!?! I need more notice! Anyway, I pulled out a short sleeved button down top for him and I remembered this blog post with a free bow tie pattern. I got the okay from the middle child for a bow tie with a request that it be red. So, I dug through my piles and piles of scraps and I whipped up an awesome bow tie! Now that I see how easy that was, I will be making a bunch more! I made the ones with the clip in the back so that once it is tied, it is tied.

Some gel and baby powder in his hair turned it that lovely grey/white color and I popped the lenses out of an old pair of sunglasses.

If I do say so myself, my 100 year old kindergartener turned out pretty cute with his “red” bow tie.

Posted on

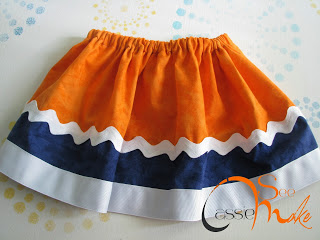
A dandelion skirt set

We are getting together with Mr Cassie’s family. The first time that all of us and his siblings and their families will be together in almost 5 years. We had a family picture taken that last time and we are planning on it again. We are all from the Chicago area and the Chicago sports teams seem to be important to everyone (everyone except me, I hate all sports) so the Bears colors/theme was chosen for our picture.

Posted on

Cream Cheese and Spinach Stuffed Chicken Wrapped with Bacon.

Cream Cheese and spinach stuffed Chicken wrapped with bacon.


 This one was pretty easy.

1 package of cream cheese softened.
4 chicken breasts cut in half (to make them thinner)
8 or 16 slices of bacon (I used 8 but if you want two for each piece of chicken) cooked halfway (so they are still bendy).
1/2 a bag of spinach
2 T. butter
salt
Pepper
red pepper flakes
paprika
garlic powder
onion powder
Parsley

Heat oven to 375. Cook bacon half way on stove top in big pan that can go in the oven later. Remove to a plate. Drain bacon drippings.

Put butter in the pan and soften under med. heat. Add some garlic powder, onion powder, red pepper flakes, pepper to the butter. Once all hot and melted add the fresh spinach. Stir and flip and turn the spinach until it has wilted. Set aside to cool.

In a bowl add the package of cream cheese. Pepper, paprika, red pepper flakes, garlic, onion powder (could use green onions, I didn’t have any), parsley and mix together. Add the cooled spinach and mix in. Put the bowl in the fridge to chill while you prep the chicken.

Pound out the 8 thin pieces of chicken until they are 1/4″ thick. Use salt and pepper and paprika on the chicken. Put a spoonful of the cream cheese mix at one end of the chicken. Roll up, add some pepper and paprika then wrap one or two slices around the chicken and hold in place with a toothpick. Put the chicken in the pan you cooked the bacon in.

Put pan in oven and cook for 30 minutes.

Enjoy!

Posted on

Winter Hats

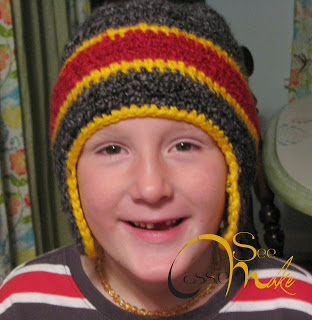
It is that time of year again. It is getting cold. It is only the middle of November and we have already had a bit of snow. Anyway, I have been making the kids’ hats every year. This year I let the boys pick their own colors (sort of). Hugh’s new winter coat is dark gray with a red fleece interior and Hugh’s favorite color at the moment is “golden”. So we added the gold/yellow. It looks a bit like a Gryffindor hat to me and Hugh is just thrilled with it.

 Side view. Hugh HAD to have the ear flaps. He was not interested in a hat unless it had them.

Now, for Owen’s hat. His only request was that it matched his blue puffy coat. Said coat is a medium blue with a dark blue fleece lining and a green zipper. So, the hat is just like Hugh’s hat, only in the two tone blue and lime green.

He got ear flaps just like Hugh.

Here they are!

Posted on

Star Wars Art Smock

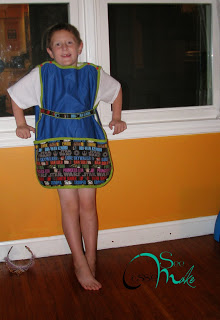
Way back in the middle of September I made a bunch of bias tape. I made it so I could make Hugh an art smock for school. It should have been done way back in August but I was having trouble figuring out exactly how I wanted to make this. I wanted it to ‘grow’ with him and easy for a 6 year old to get on and off. I also have a very opinionated boy who very much had a say on the fabric choices.
This is what we ended up with…..front
 

Back…

 I have tons of PUL fabric for making cloth diapers/covers. So, I used that for the body of the smock. It is completely water proof. Nothing is getting through it. To get the shape, I just laid out a t-shirt of Hugh’s and traced out the neckline and arm holes (making a point to add a couple of inches for growth). Then we went through my stash and Hugh picked the Star Wars fabric. That was a good choice because I had a blue to match it in the PUL. I would have done a black or a blue bias tape but Hugh wanted Yoda green. The Star Wars fabric has been divided into 3 pockets.

As for the belt, well it was the best way I could come up with that would be easy for him to put the smock on and off himself. It has snaps to adjust the size. The belt is attached to the back part of the smock and then wraps around the front, holding everything together.

 The back is completely plain